Get the Best Results: How to Prep Your Car for Mobile Paint Correction
Mobile paint correction can transform your vehicle's appearance, but the secret to achieving flawless results lies in the preparation. This article dives deep into everything you need to know to get your car prepped and polished to perfection. Whether you're doing it yourself or hiring professionals, knowing how to prep your car properly ensures your vehicle shines like new and protects its value for years.

What Is Mobile Paint Correction?
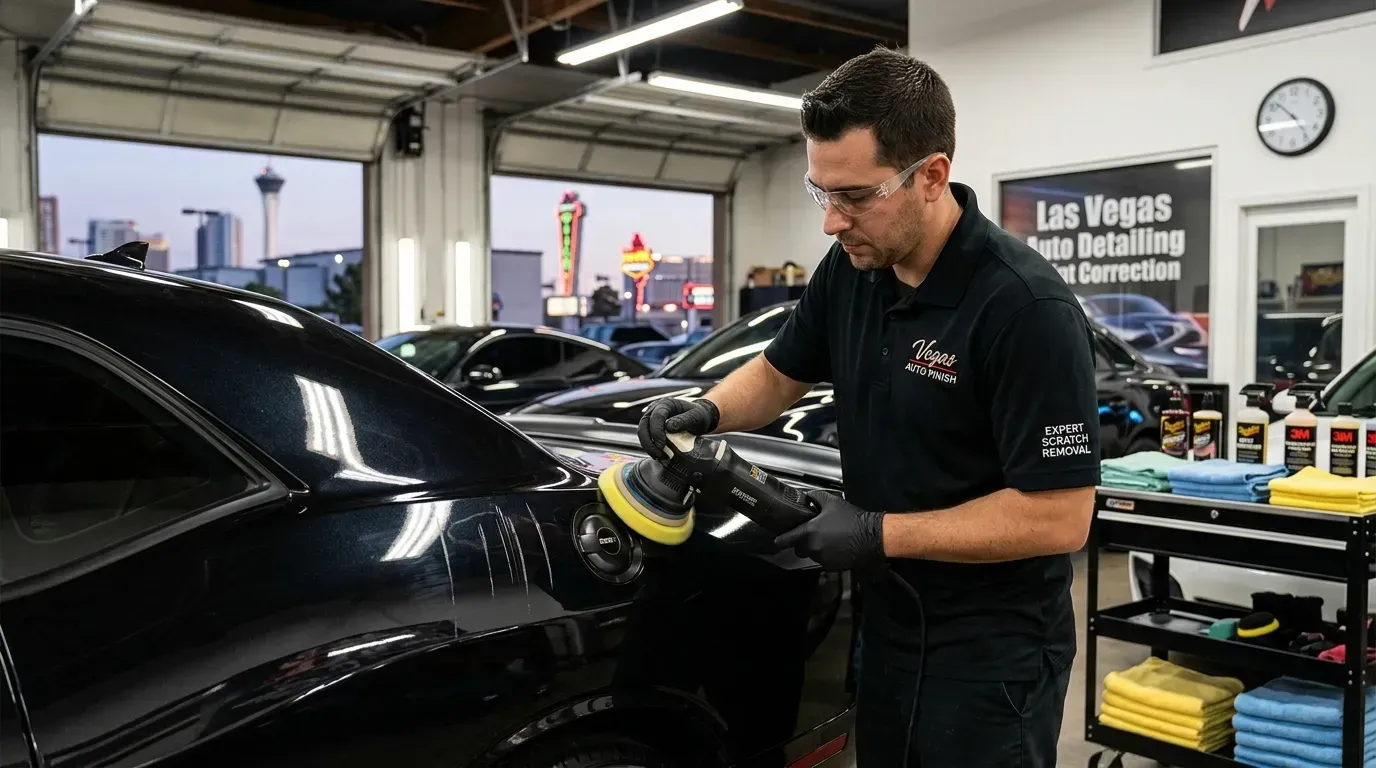
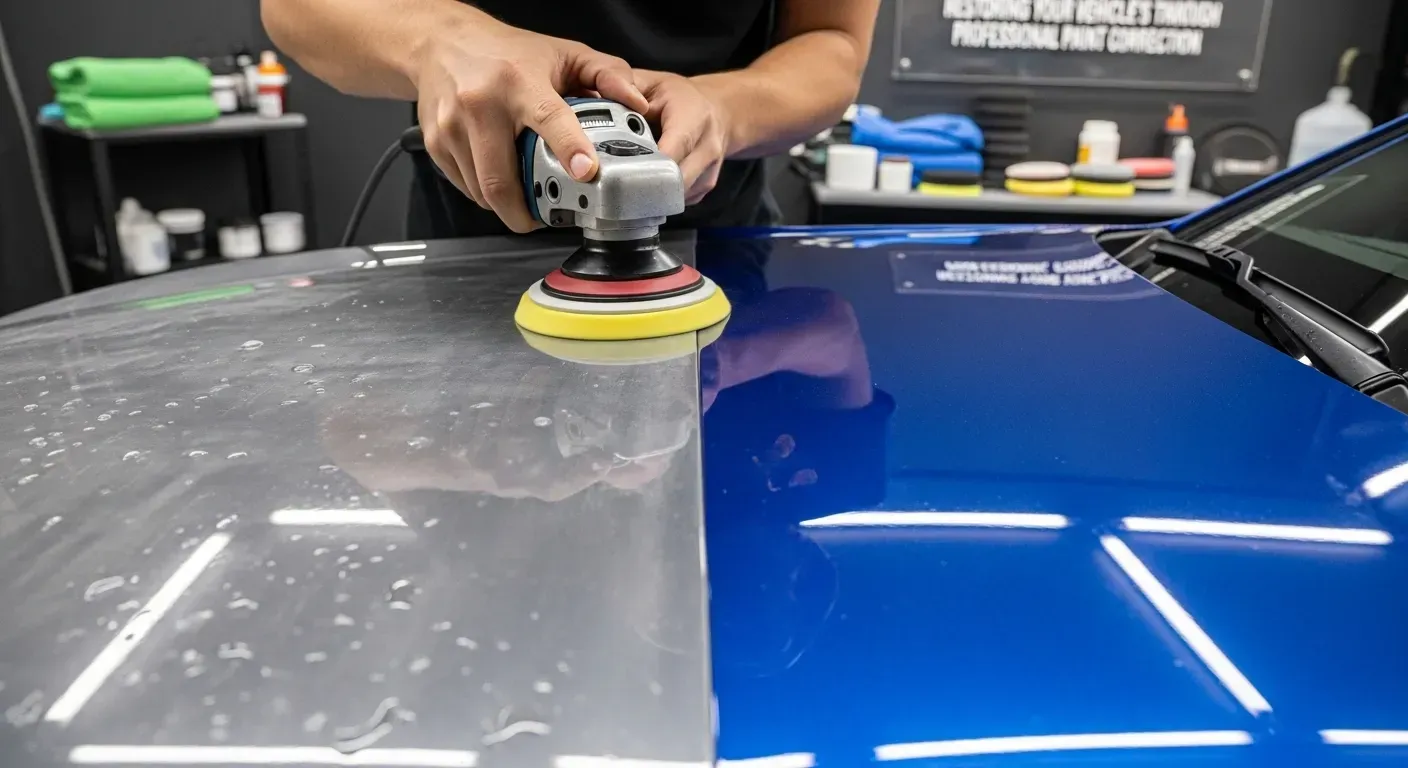
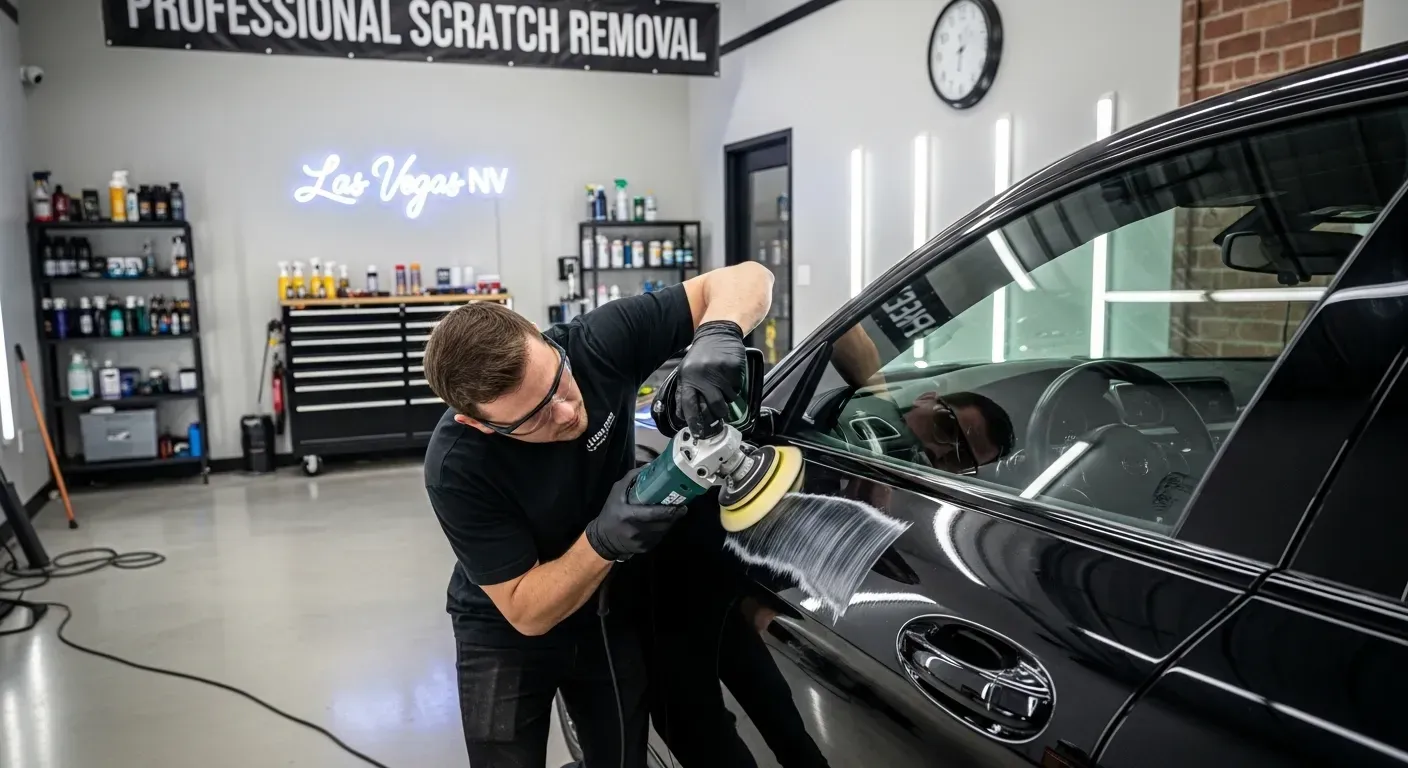
Mobile paint correction is a service that involves eliminating surface imperfections—such as swirl marks, oxidation, and light scratches—from your car's paintwork using polishing tools and compounds. What makes it unique is the convenience factor. Professionals come to your location, whether it's your home or office, saving you time and effort.
With this convenience, however, comes the need for perfect prep. Without proper preparation, even the best tools and detailers won’t deliver optimal results. Paint correction isn't just polishing—it's about restoring and refining, which begins long before a buffer touches your paint.
Benefits of Mobile Paint Correction for Your Vehicle
Investing in mobile paint correction isn't just for car enthusiasts. If you value your vehicle's appearance, this service offers:
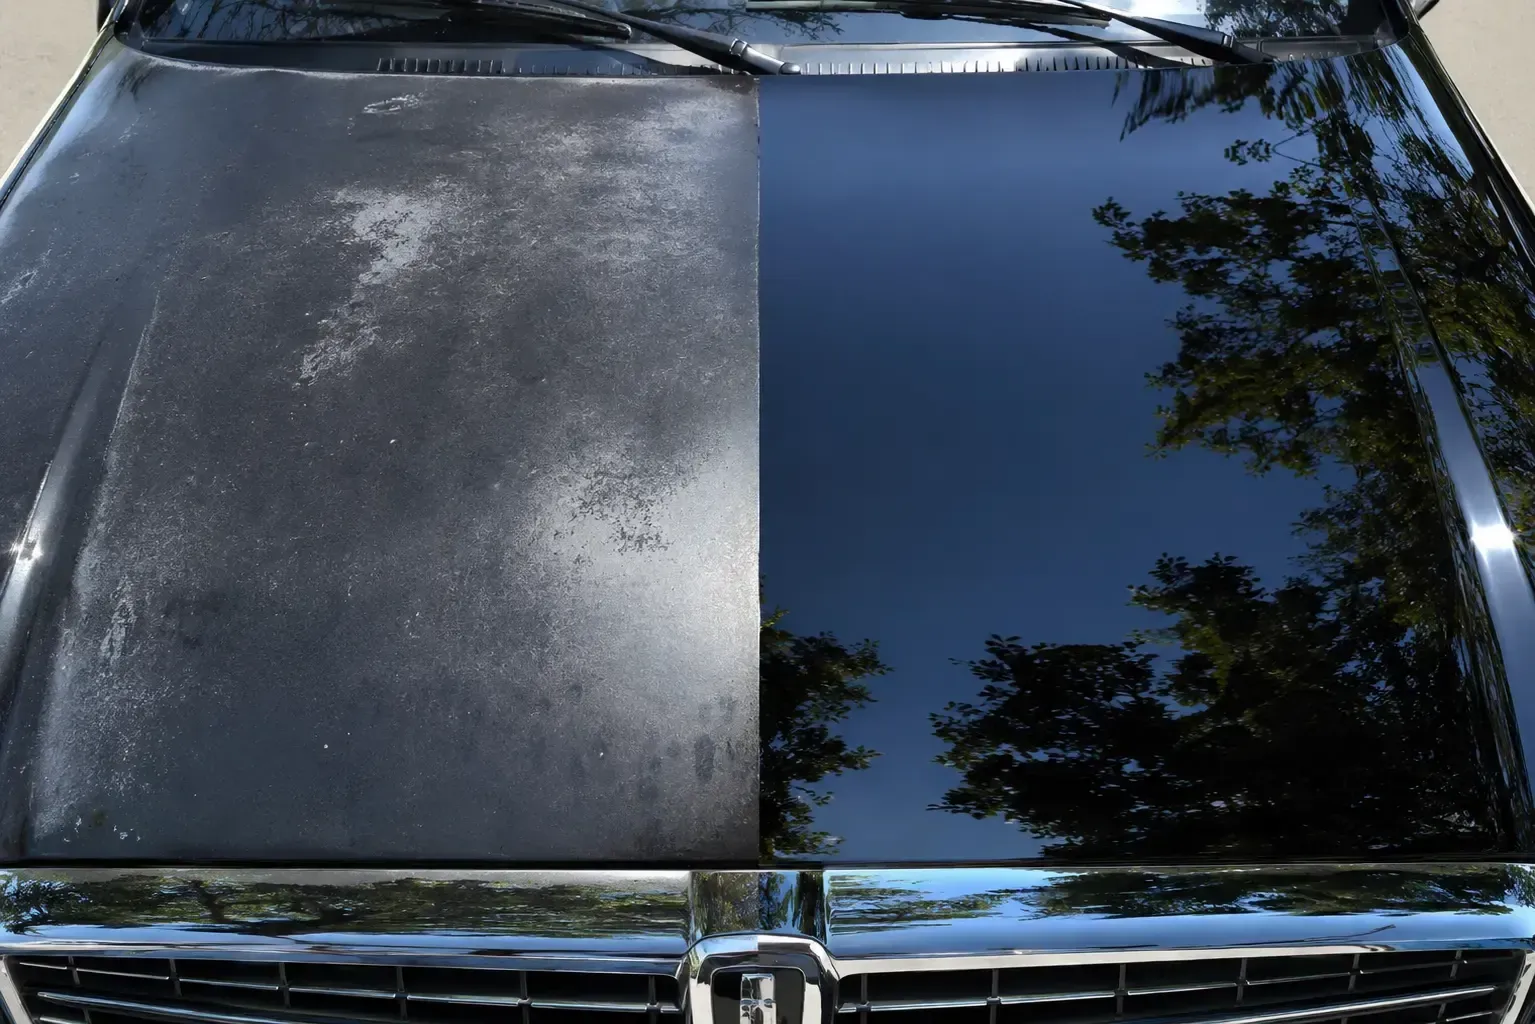
- Enhanced aesthetics: Removes dullness, boosting the paint’s depth and clarity.
- Increased resale value: First impressions matter, especially when selling.
- Surface protection: Removes contaminants that can cause permanent damage.
- Time-saving convenience: No need to drive to a shop; the pros come to you.
Difference Between Mobile and Traditional Paint Correction
Traditional paint correction takes place in a controlled environment like a shop or garage. Mobile services, on the other hand, are performed at your location—requiring extra precision in weather protection, equipment portability, and surface cleanliness.
Prepping for mobile paint correction demands a more rigorous routine because environmental variables—like dust, sunlight, and wind—can quickly affect the process.
Why Prepping Your Car Matters
Preparation is the foundation of a successful paint correction. It's like prepping a wall before painting—without a clean, smooth surface, the final result will be uneven and unimpressive.
Proper prep:
- Ensures correction compounds work effectively
- Reduces the risk of damaging the paint
- Saves time by preventing rework
When Should You Consider Mobile Paint Correction?
Here are signs it might be time:
- Your paint looks dull or faded
- Swirl marks appear under light
- You've recently removed decals or wraps
- You're prepping to sell or show the car
How to Assess Your Car’s Paint Condition
Start with a visual check under natural and artificial lighting. Feel the surface—does it feel rough? Use a plastic bag test: place your hand in a sandwich bag and run it over the paint. If it feels gritty, it needs decontamination.
Look for:
- Spider web scratches
- Water spots
- Oxidation patches
- Deep stains or discoloration
Tools and Products Needed Before the Correction
Gather these before beginning:
Tool Purpose
pH-balanced car shampoo To clean without stripping wax
Clay bar or mitt Removes embedded contaminants
Iron remover Dissolves brake dust and metallic particles
Microfiber towels Safe drying and wiping
Masking tape Protects trim and sensitive areas
Panel wipe Degreases the surface
Safety Measures Before You Start
- Wear gloves and safety goggles.
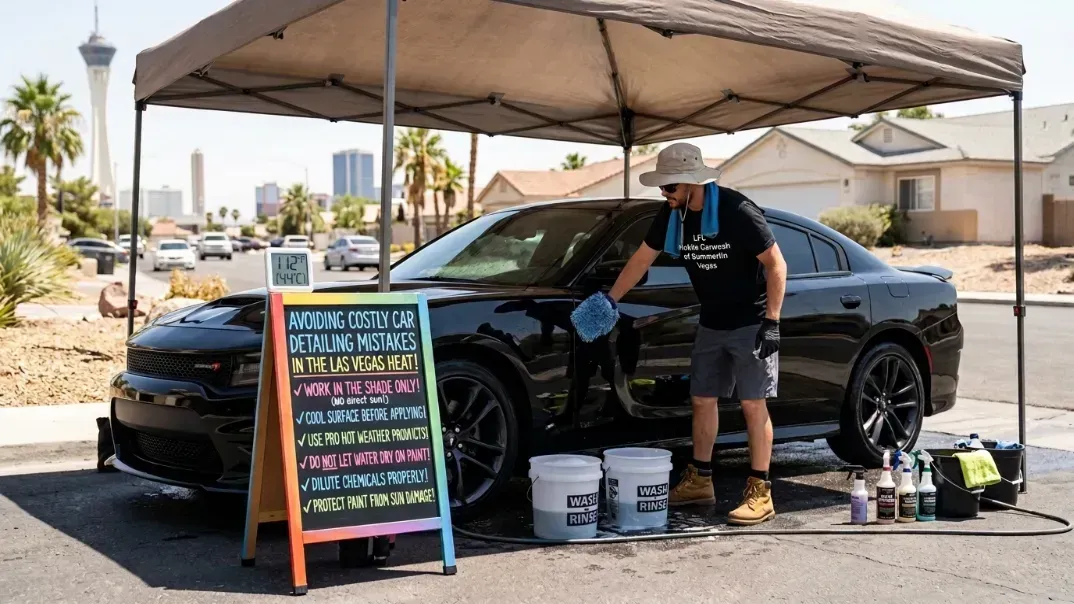
- Work in a shaded area or early morning.
- Ensure the vehicle is cool to the touch.
- Avoid inhaling chemicals—wear a mask if needed.
Importance of a Clean Working Area
Whether you're prepping in a driveway or garage, eliminate dust and clutter. A clean space:
- Prevents airborne debris from settling on the paint
- Keeps tools and materials organized
- Minimizes trip hazards
The Proper Way to Wash Your Car
Use the two-bucket method: one for soapy water, one for rinsing your mitt. This prevents scratching from reintroducing dirt.
- Rinse with water
- Wash top-down
- Use grit guards in buckets
- Dry with microfiber towels
What Soaps and Techniques to Use
Opt for car-specific shampoos—not dish soap. Use a foam cannon if available to pre-soak the vehicle. Agitate with a clean wash mitt in straight lines.
Should You Use a Clay Bar Before Paint Correction?
Absolutely. A clay bar removes invisible contaminants that washing can't touch. It leaves the surface smooth, making correction safer and more effective.
How to Dry Your Vehicle Properly
After washing:
- Use blotting techniques, not wiping
- A leaf blower or air dryer helps reach crevices
- Avoid air-drying to prevent water spots
What Is Paint Decontamination and Why It’s Vital
Decontamination goes beyond washing. It involves removing bonded particles like:
- Rail dust
- Industrial fallout
- Tar
- Iron shavings
These materials can lodge in paint and interfere with correction.
Types of Surface Contaminants to Look For
- Iron particles (look for orange rust specs)
- Tree sap
- Bird droppings
- Road tar
- Brake dust
How to Use Iron Removers and Tar Removers
- Spray liberally
- Allow to dwell (3–5 minutes)
- Agitate lightly if needed
- Rinse thoroughly
Inspecting the Paint Under Proper Lighting
Use an LED or halogen light to spot imperfections. Move the light across panels to detect:
- Holograms
- Swirl marks
- Oxidation patterns
Mark areas needing attention.
Marking Trouble Spots for Paint Correction
Use masking tape or wax pencils to mark these areas. It helps guide the polishing process and focus on areas that need more work.
How and Where to Mask Your Vehicle
Mask areas like:
- Rubber trims
- Emblems
- Edges of headlights
- Plastic moldings
This protects them from polish splatter and accidental damage.
Should You Polish Before Paint Correction?
No, polish comes after paint correction as a finishing step. Focus on cutting compounds first, then refine with polish.
The Role of Compounds and Pads in Paint Prep
Choose pad/compound combinations based on paint type:
- Soft pads for softer paints
- Cutting compounds for deeper imperfections
Always test a small area first.
Ensuring Even Surface Preparation
Use cross-hatch motions and moderate pressure. Avoid dry buffing—ensure enough lubricant is on the pad. Work in 2x2 ft sections.
Common Mistakes That Ruin Paint Correction
- Working in direct sunlight
- Skipping decontamination
- Using the wrong pad or compound
- Polishing dirty paint
Products to Avoid Before Correction
- Silicone-based waxes
- Household cleaners
- Dish soap
- Quick detail sprays with fillers
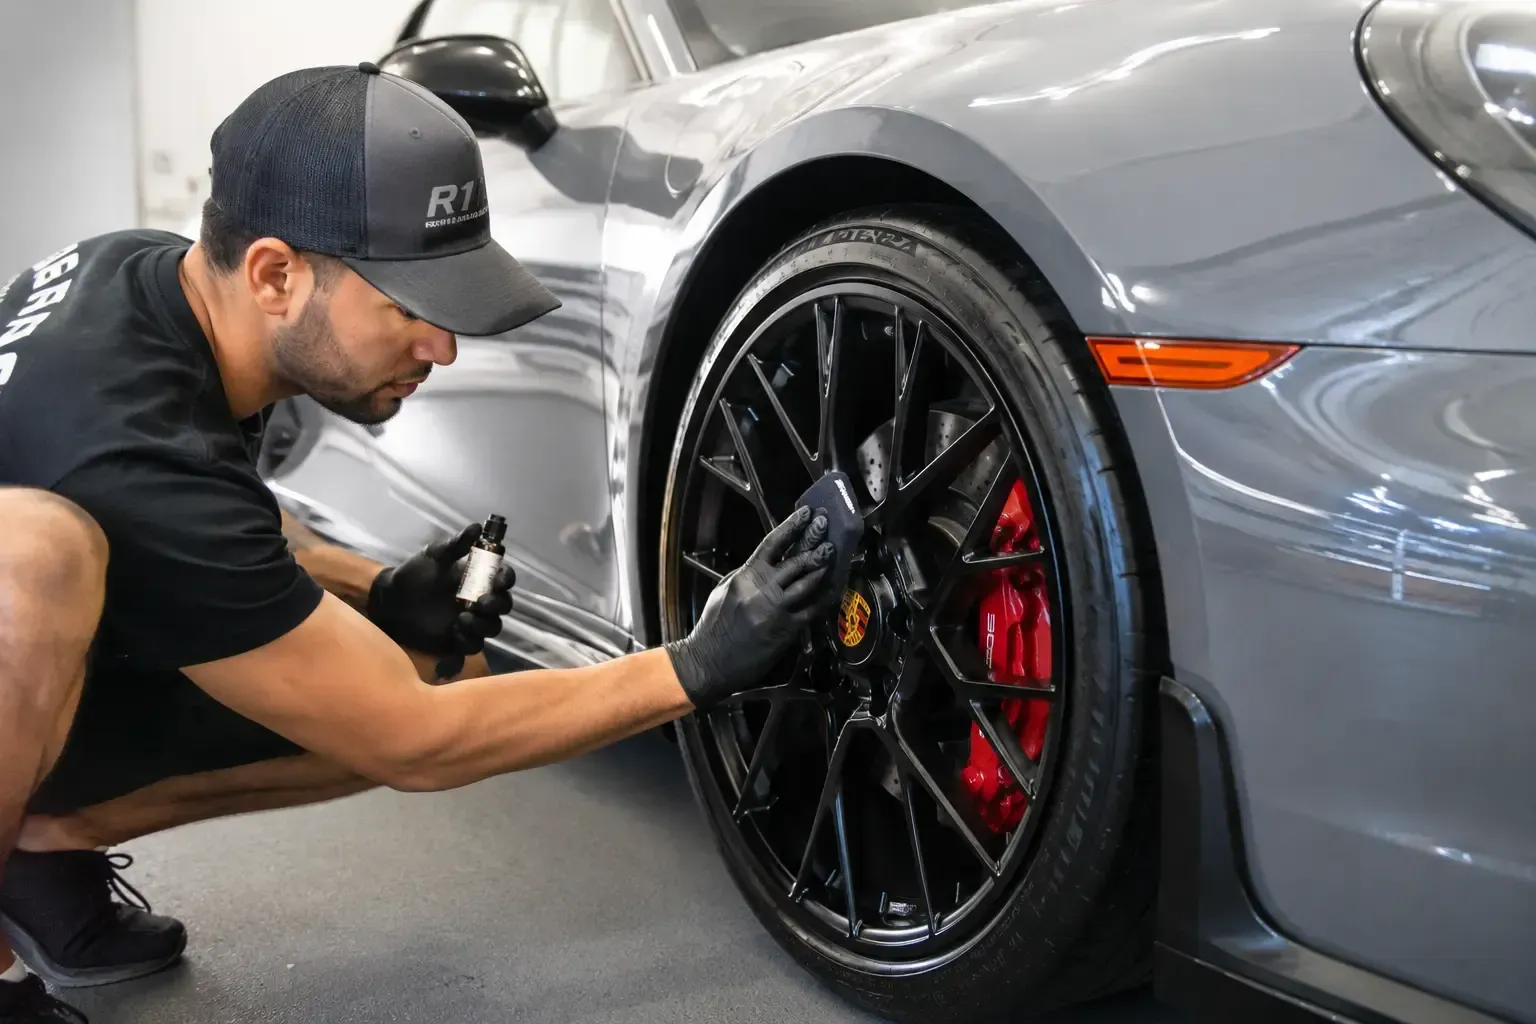
How to Choose the Right Mobile Detailing Service
Look for these traits:
- Positive reviews
- Clear service offerings
- Experienced technicians
- Professional tools and equipment
We recommend Mobile Car Wash and Detailing Service for a reliable and professional experience.
Questions to Ask Your Detailer
- What products do you use?
- How many years of experience do you have?
- Do you use dual-action or rotary polishers?
- Is paint protection included?
Signs of a Quality Paint Correction Specialist
- Offers inspection first
- Transparent pricing
- Educates you on aftercare
- Guarantees their work
What to Do After Prepping But Before Correction
- Let the vehicle cool
- Inspect masking
- Double-check for missed contaminants
- Get tools ready
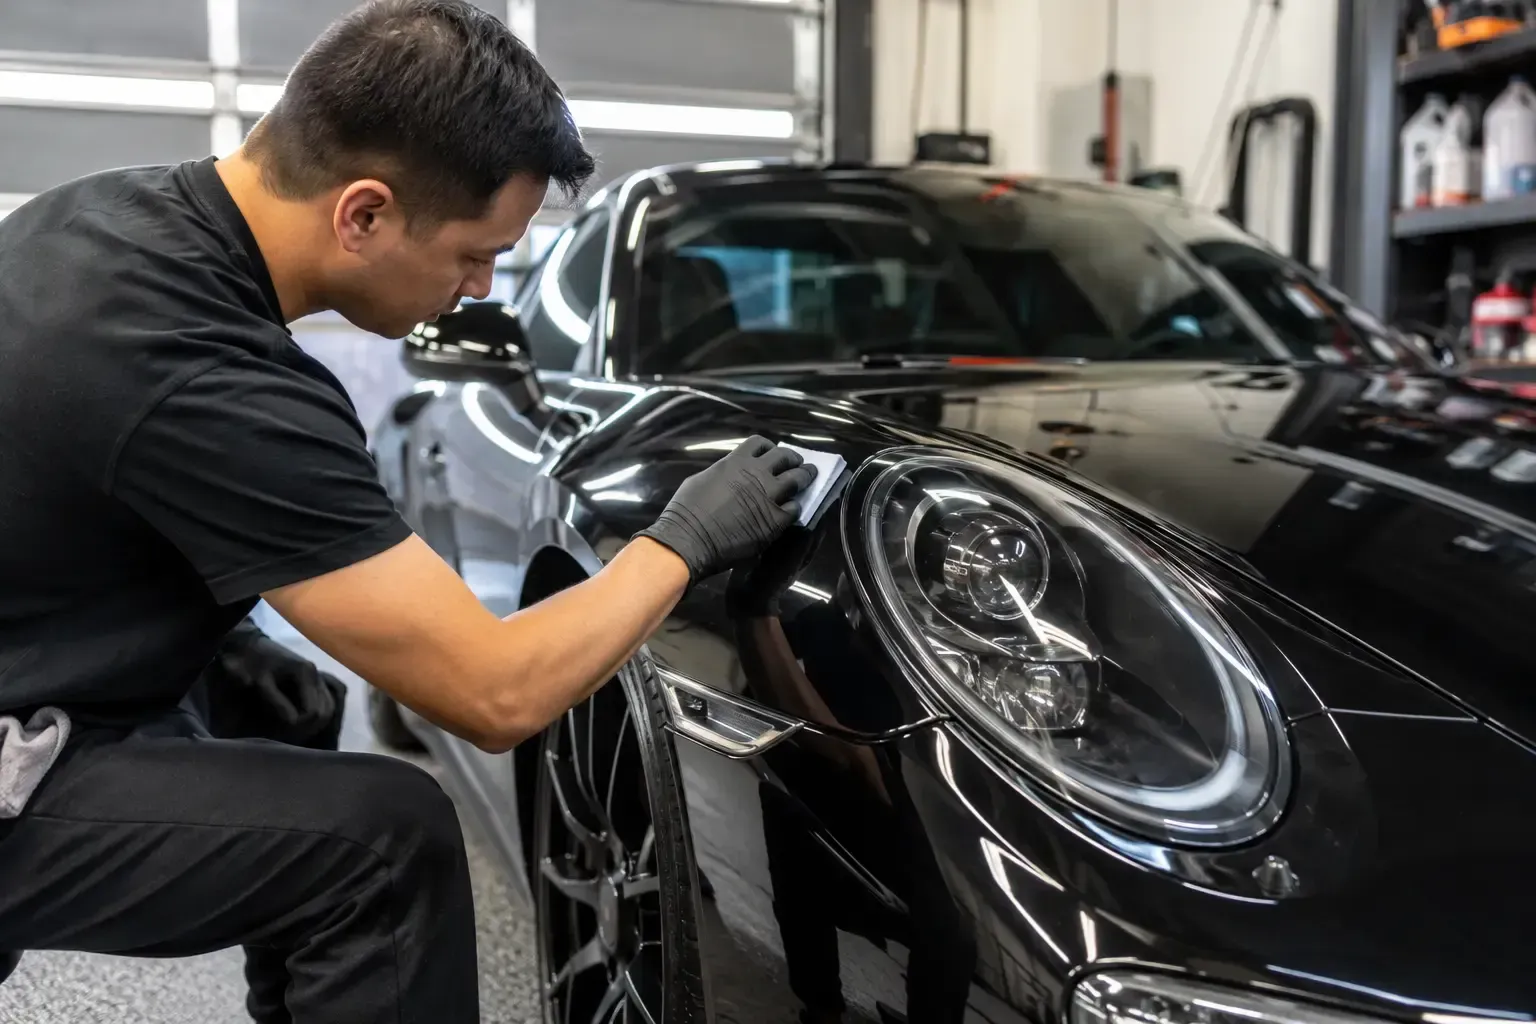
How to Maintain the Finish After Paint Correction
- Apply ceramic coating or sealant
- Use pH-neutral car shampoos
- Wash biweekly
- Avoid automatic car washes
Frequently Asked Questions
How long does paint correction take?
It can take anywhere from 2 to 8 hours depending on the vehicle size and paint condition.
Is paint correction safe for all vehicles?
Yes, but older paint may require gentler compounds.
How often should I get paint correction?
Every 1–2 years depending on care and usage.
Do I need to wax after correction?
It’s better to use a sealant or ceramic coating for lasting protection.
Can I drive my car right after correction?
Yes, but avoid rain and washing for 24–48 hours if sealants are applied.
How much does it cost?
Prices range from $150 to over $600 based on correction level and vehicle size.
Final Thoughts on Prepping for Mobile Paint Correction
Prepping your car for mobile paint correction is not just a step—it’s the cornerstone of a perfect result. With careful washing, decontamination, masking, and inspection, you set the stage for a truly transformative experience. Whether you’re DIY-ing or trusting a professional like Mobile Car Wash and Detailing Service, always take time to prep right for the ultimate shine.
Need assistance or have questions? Contact us today and speak with a mobile detailing expert who can help guide you.
Links: